1. Preparation of workstation
Main steps
- About the course
- Install operating system
- Configure operating system
- Install additional packages
- Optional tasks
About the course
Presentation
Practical exercise
Install operating system
- If not sure about device drivers for WiFi, use Ethernet (cabled) network.
- For real, physical computer, put installation USB drive in computer and restart it.
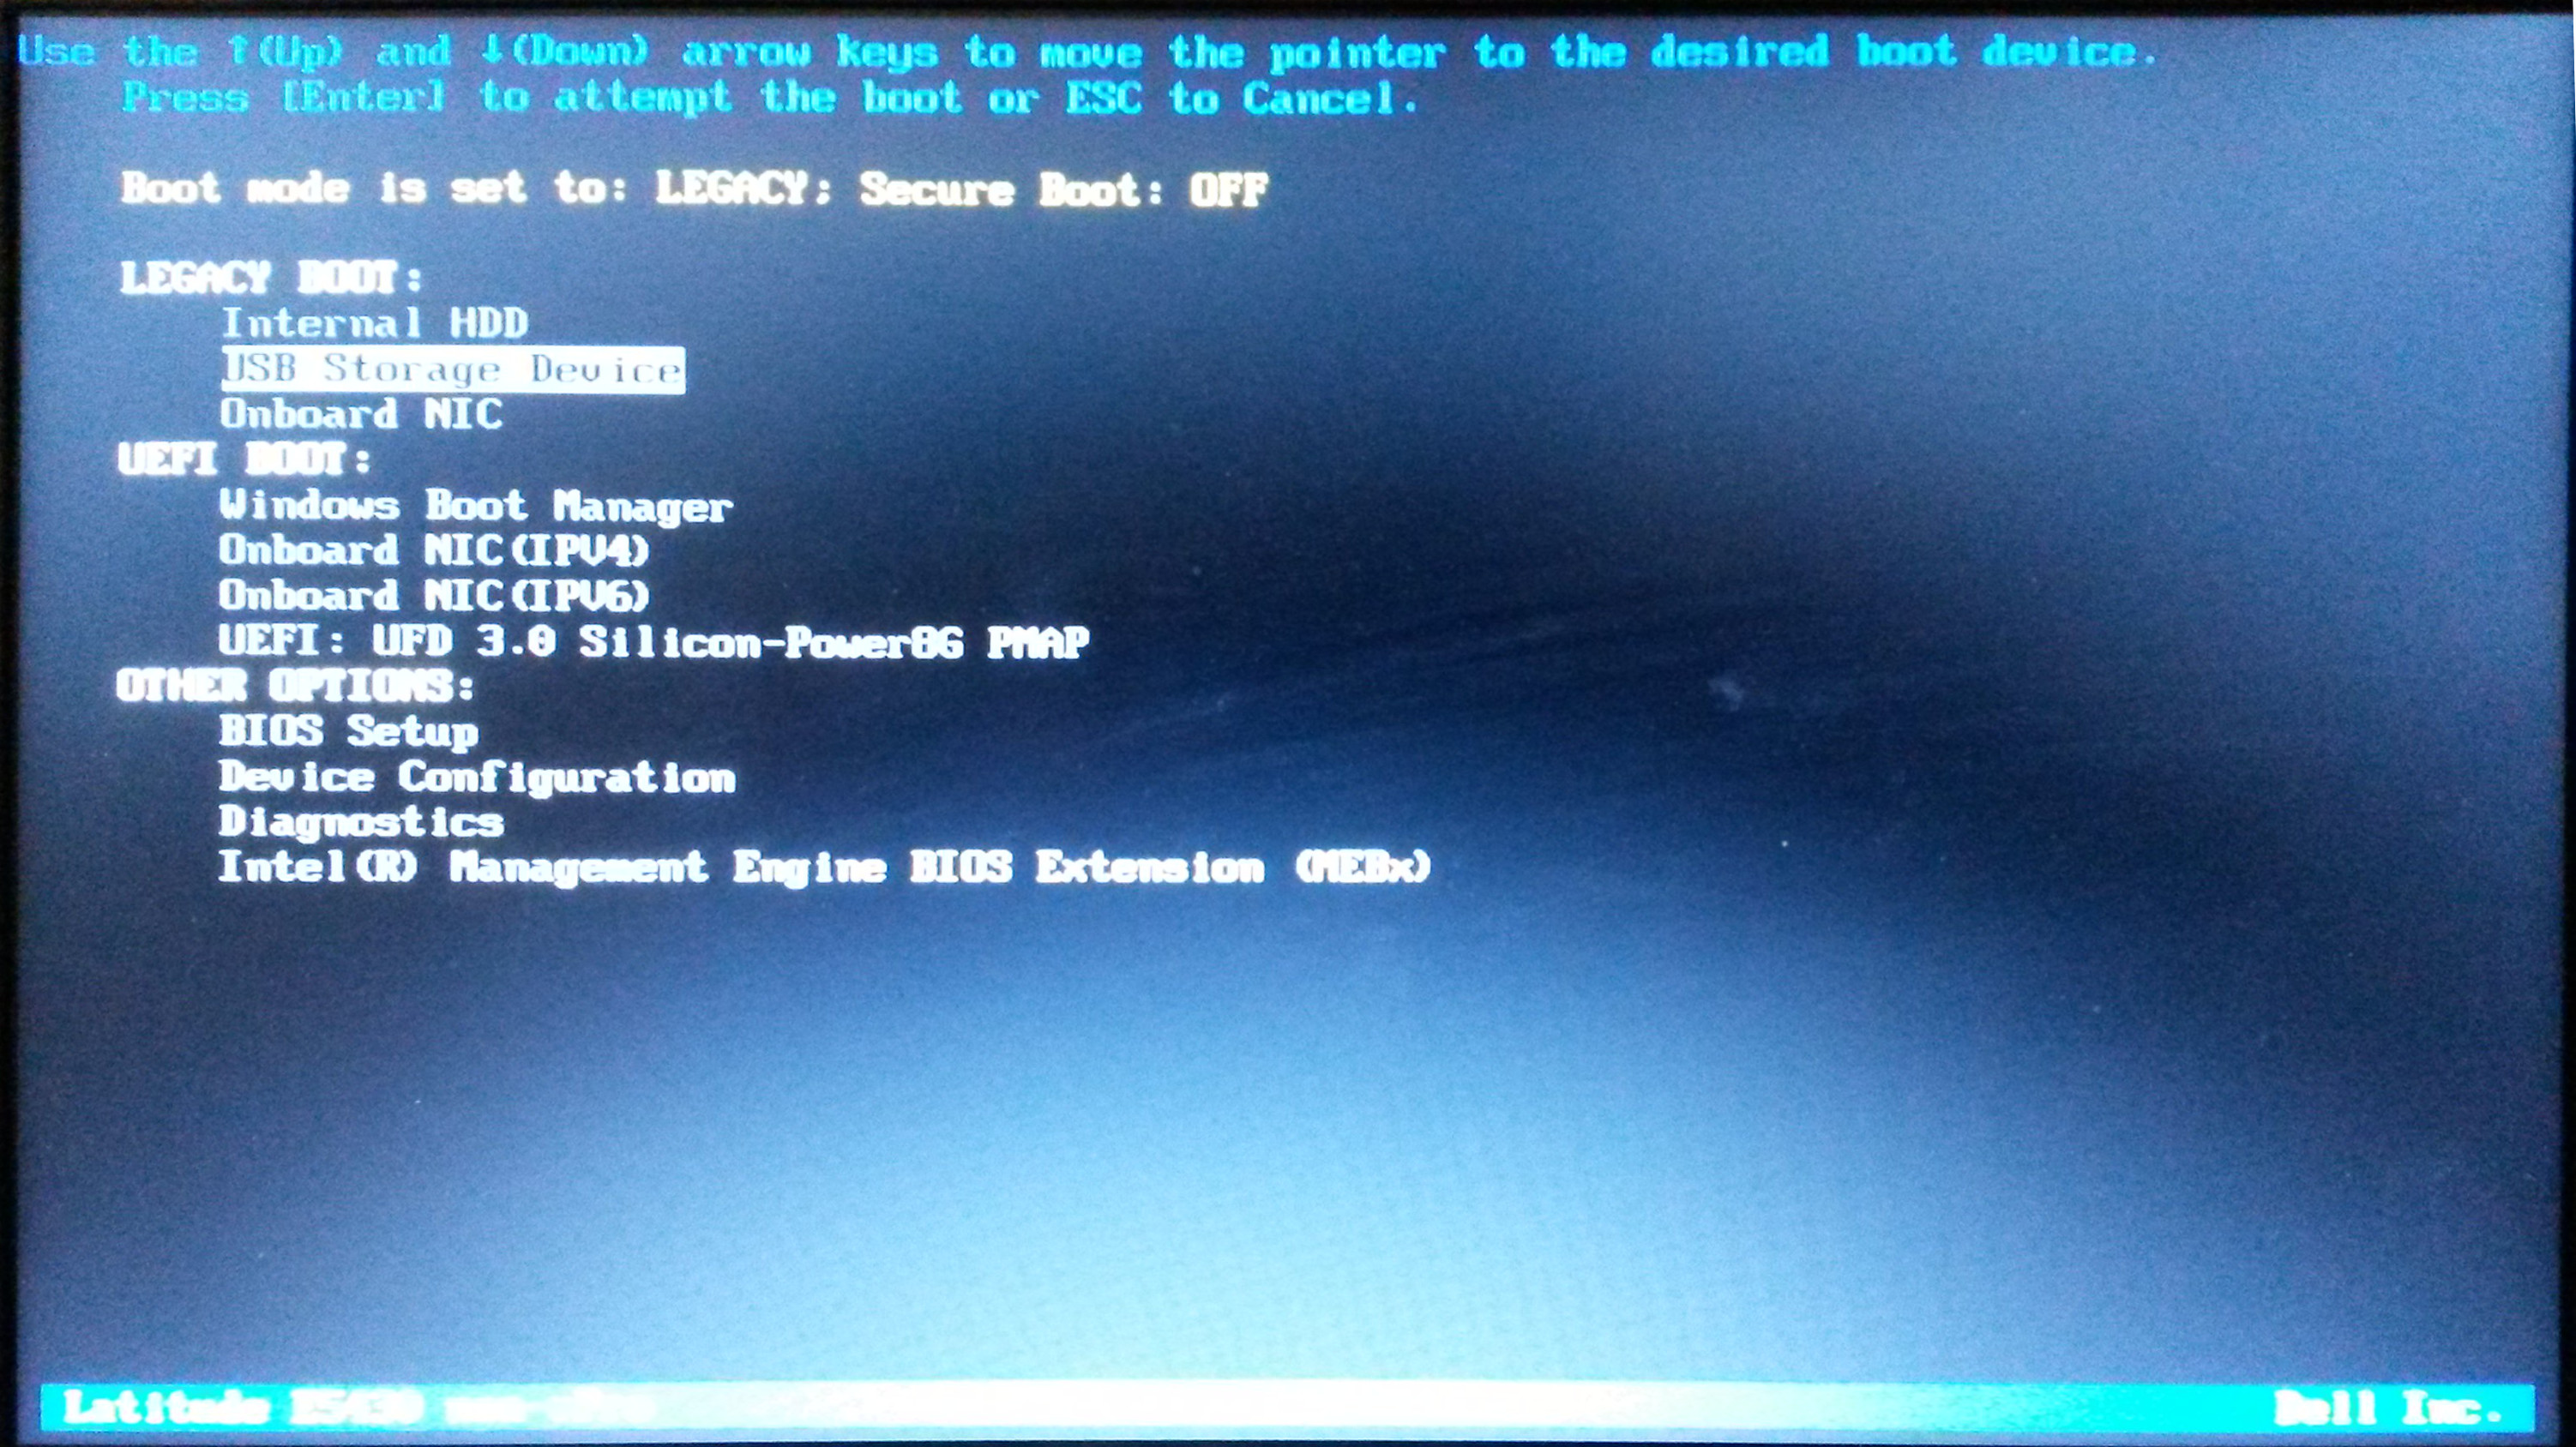
- Press Esc or one of F9..F10 keys (if necessary, google it for your particular hardware) to activate booting device menu
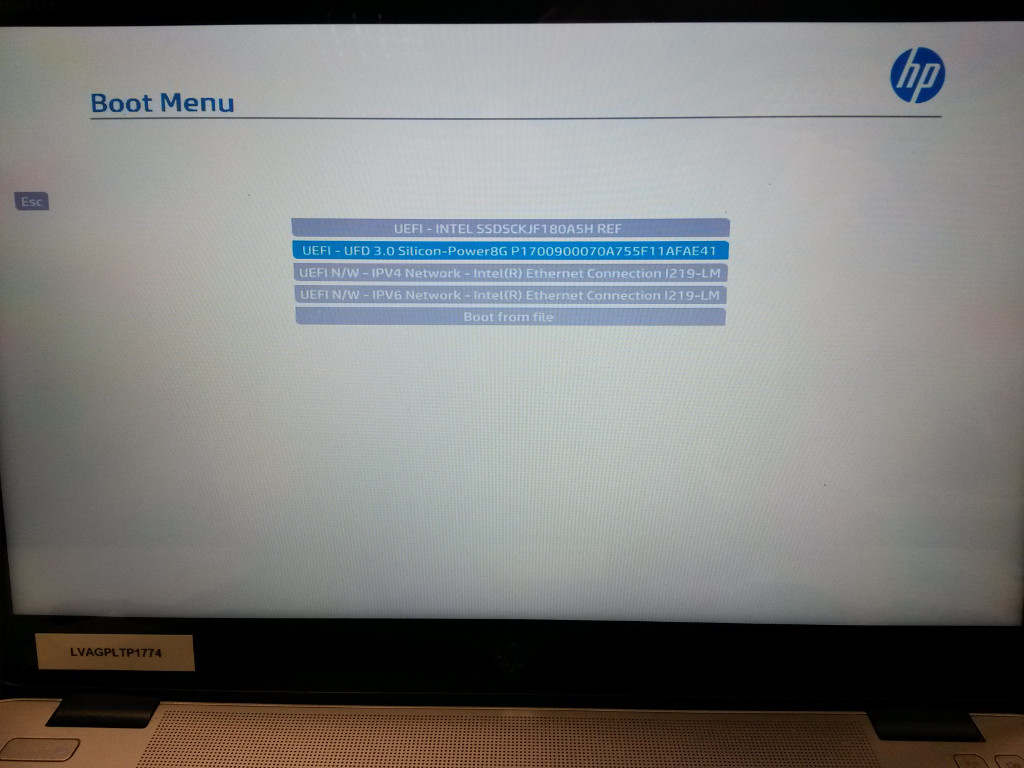
Select USB stick as booting device. Depending on boot manager it may look differently, e.g. (go through images, if necessary):
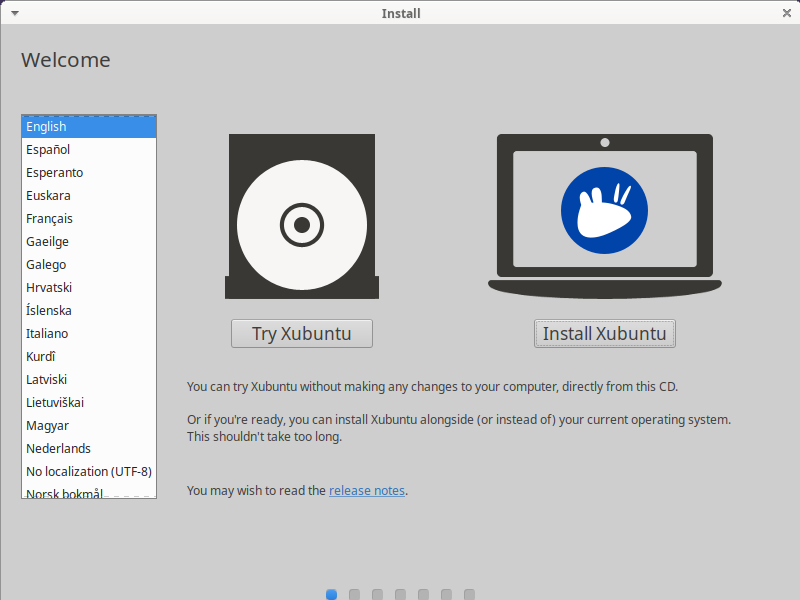
- Then choose Install Xubuntu
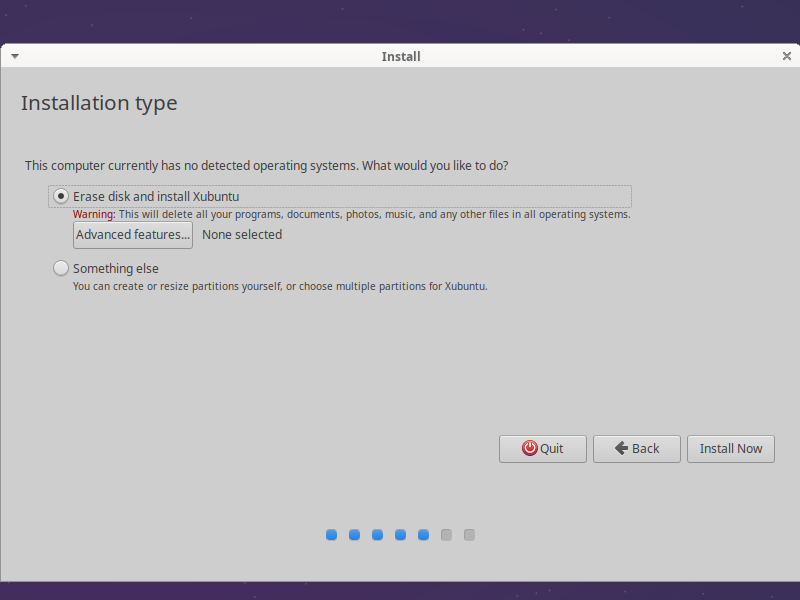
- To put Xubuntu as only operating system, choose option: Erase disk and install Xubuntu
- Install Xubuntu Linux workstation with following settings:
- Location: Riga
- User: student
- Password: Student007
- Computer name — first syllables of name and surname separated with dash, e.g., val-vit
- Language English or Latvian
- Complete setup wizard and log into your computer
Configure operating system
- Connect your computer with Ethernet cable to the router or switch
- If necessary, familiarize yourself with Terminal and ways to copy-paste and execute commands
- Set IP address of the bcserver:
- open terminal
enter: sudo mousepad /etc/hosts and add lines in file, that the look is like following:
127.0.0.1 localhost
127.0.1.1 val-vit
3.123.45.45 bcserverwhere val-vit is your computer and bcserver is name of the Java Bootcamp Server.
 check that ping bcserver command returns response times check that /etc/hostname has the same name e.g. val-vit as /etc/hosts, e.g. val-vit
- Enable additional software repositories:
open terminal and enter command:
sudo mousepad /etc/apt/sources.listremove hash and space (# ) for remote repository entries (lines which start with # deb) and save file.
Update repo metadata, upgrade system, and clean up unneeded packages with command in terminal:
sudo apt-get update; sudo apt-get dist-upgrade; sudo apt-get autoremovepress Enter to confirm operations (and similarly for other tasks)
- Restart computer.
Install additional packages
Install JDK and Maven building tool with command (and implicitly Java Development Kit as Maven dependency):
sudo apt-get install default-jdk maven- Set up Eclipse IDE for Enterprise Java Developers:
- Download Eclipse archive file from from Eclipse website;
- Create folder IDEs in your home folder;
- Exctract archive into IDEs folder.
- Check that java -version command returns info about java Check that mvn -version command returns info about maven
- For more info look at:
- If you have problems with WiFi network, look at Bezvadu tīkls
Install git command line and git GTK GUI:
sudo apt-get install git- Restart your computer.
Optional tasks
Remove unneeded packages
Remove update manager, to not get annoyed with updating messages:
sudo apt-get purge snapd update-manager
Install better drivers for VirtualBox
To enable copy-paste between host system and virtual machine you need additional drivers installed in virtual machine.
In terminal execute command:
sudo apt-get install -y dkms build-essential linux-headers-generic linux-headers-$(uname -r)- Select menu Devices — Insert Guest Additions CD image...
- Open terminal in the folder of virtual CD disk (e.g. open it in file manager and press F4)
Execute command
sudo ./autorun.shand wait for installer to finish and press Enter
- Restart virtual machine.
- In VirtualBox window select menu Devices — Shared clipboard — Bidirectional


